The bathroom plumbing diagram for rough in typically includes details such as the placement of toilets, sinks, showers, and bathtubs. It outlines where each fixture should be connected to the main water line and sewer system. Additionally, it depicts the positioning of vent pipes that help prevent air pressure issues and maintain proper drainage flow.
For more interesting content, check out our next post!
By referring to a well-designed plumbing diagram for rough in, homeowners can better understand how their bathroom’s plumbing system works. They can also make informed decisions about any necessary modifications or upgrades. Whether you’re planning a DIY project or working with professionals, having access to an accurate plumbing diagram ensures that your bathroom’s infrastructure is set up correctly from the start.
So if you’re embarking on a bathroom renovation or building a new one from scratch, take some time to analyze and understand the plumbing diagram for rough in. It will serve as your guide throughout the installation process and help ensure that your bathroom’s plumbing system functions flawlessly for years to come.
Bathroom Plumbing Diagram for Rough In
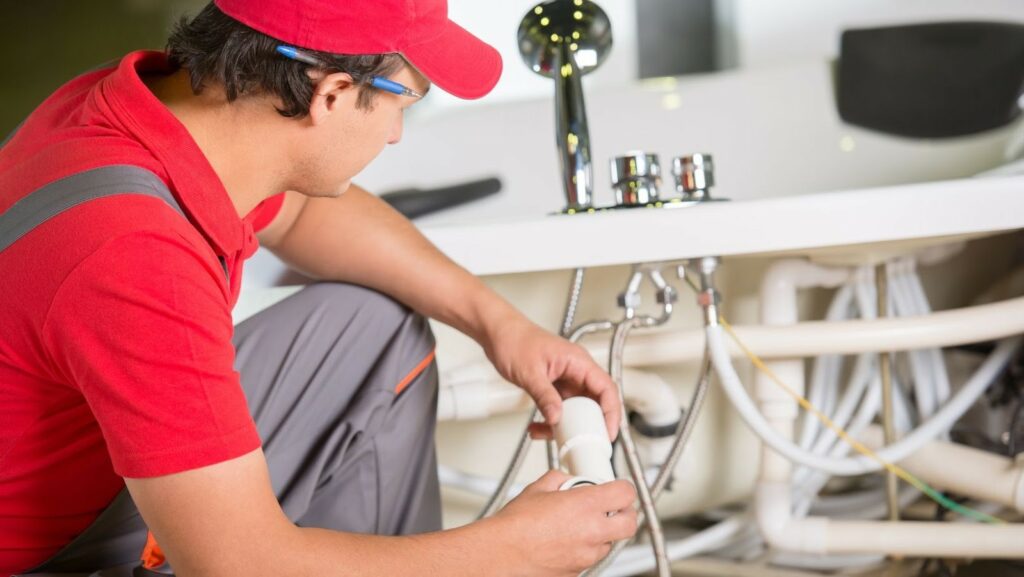
When it comes to bathroom renovations or new construction, understanding the rough-in plumbing process is crucial. This step ensures that all necessary plumbing connections are in place before walls and floors are finished. In this guide, I’ll walk you through the step-by-step process of rough-in plumbing for bathrooms, including a breakdown of the essential components and their placement.
- Start with a Comprehensive Plan: Before diving into any physical work, it’s essential to have a well-thought-out plan. Consider the layout of your bathroom and decide where fixtures such as toilets, sinks, showers, and bathtubs will be placed. A detailed bathroom plumbing diagram for rough-in can serve as a helpful reference throughout the project.
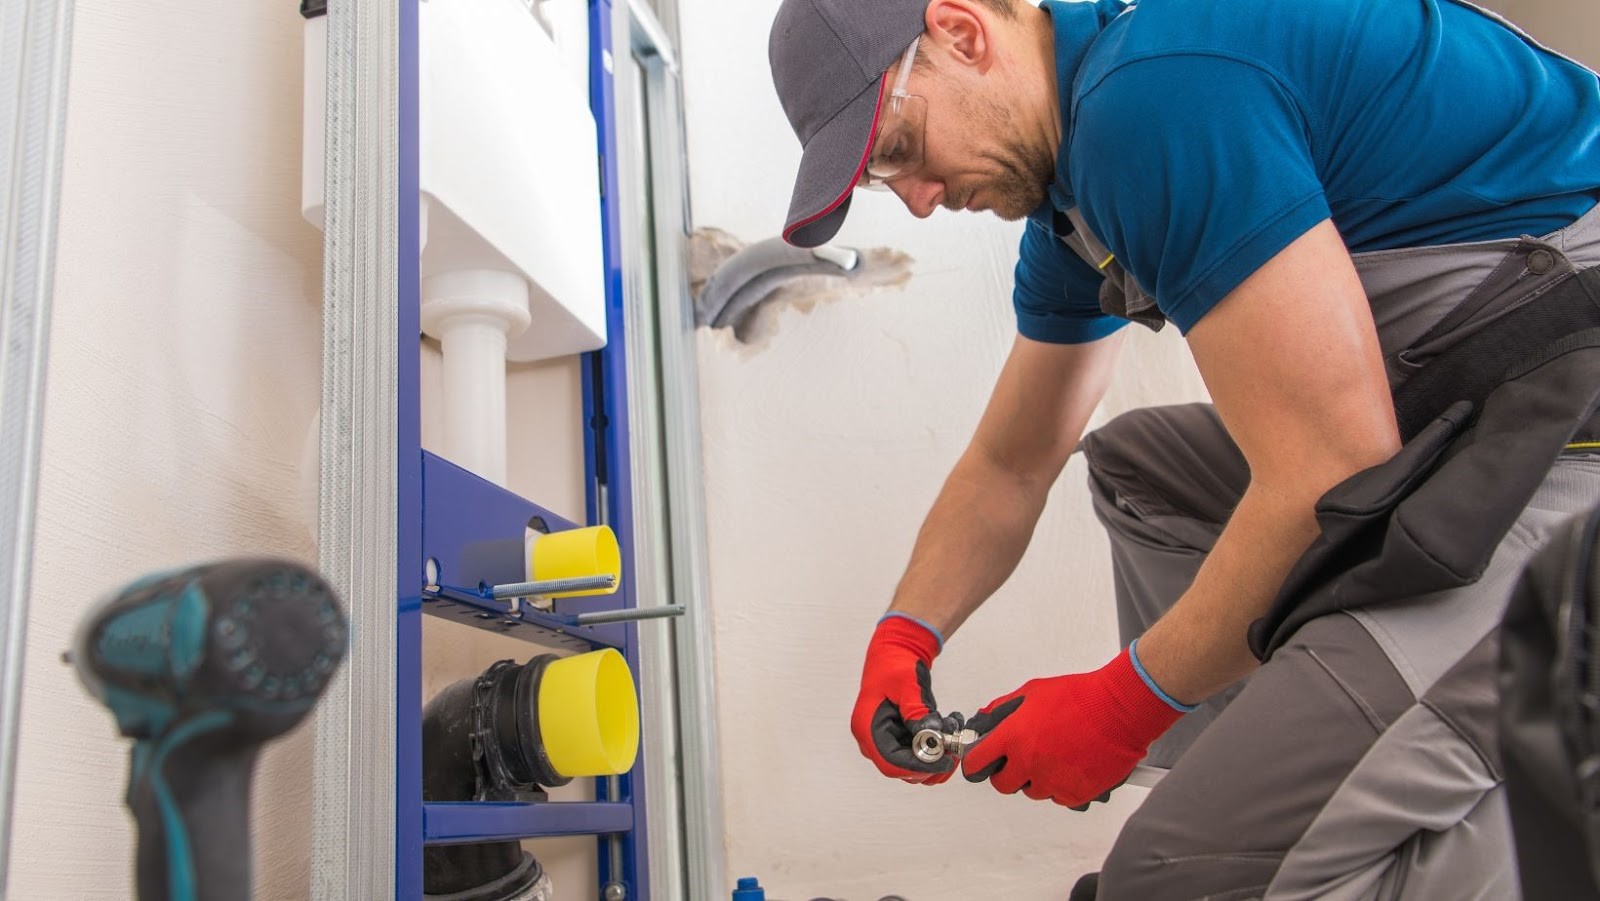
- Locate Existing Plumbing Lines: If you’re working on an existing bathroom or home addition, take note of any existing plumbing lines to avoid unnecessary demolition and ensure proper connection points.
- Prepare Supply Lines: Begin by installing supply lines for hot and cold water. These pipes will provide water to your fixtures and should connect directly to your main water supply line or manifold system.
- Install Drainage Pipes: Next, focus on installing drainage pipes that will carry waste away from your fixtures towards the main sewer line or septic tank. Make sure to use appropriate pipe sizes based on fixture requirements and local building codes.
- Position Vent Pipes: Vent pipes play a crucial role in preventing airlock in drainage systems by allowing air circulation within the pipes. Place vent pipes strategically near each fixture’s drainpipe connection point to maintain proper ventilation throughout your bathroom plumbing system.
- Connect Toilet Flange and Rough-In Toilet Drain: As one of the essential fixtures in any bathroom, ensuring proper installation of the toilet is crucial. Install a toilet flange securely onto the floor at the desired location while connecting it to the rough-in toilet drain using appropriate piping materials.
- Install Shower and Tub Drains: For showers and tubs, install drain pipes at the correct slope to ensure proper drainage. Also, consider adding a P-trap beneath the shower or bathtub to prevent sewer gases from entering your bathroom.
- Position Sink Drain: Lastly, install the sink drain pipe by connecting it to the main drainage system. Make sure to include a P-trap under the sink as well for odor prevention.
Remember, local building codes may vary, so consult with a professional or local authorities if you have any specific requirements or questions during your rough-in plumbing project.
By following this step-by-step guide and referring to a bathroom plumbing diagram for rough-in, you’ll be well-equipped to tackle this crucial phase of your bathroom construction or renovation project with confidence. Properly executed rough-in plumbing will lay the foundation for functional and efficient bathroom plumbing systems that will stand the test of time.
