Gluten-free self-rising flour is an excellent ingredient for baking gluten-free cakes, cookies, and breads. It’s easy to make at home with just two ingredients and takes only minutes to mix. Making your own gluten-free self-rising flour gives you the opportunity to control the ingredients and quality of your flour, plus it can save you money over store-bought brands. Let’s take a look at how easy it is to make your own gluten-free self-rising flour!
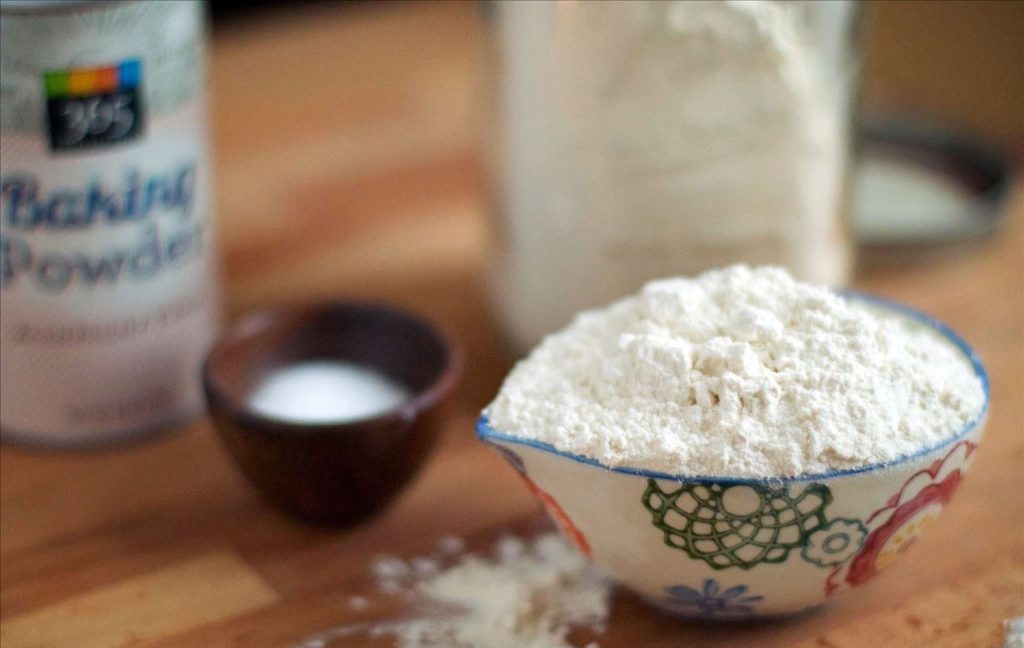
Table of Contents
Ingredients Needed
The only two ingredients you need for this recipe are fine sea salt and a gluten-free all-purpose flour blend. You will want to use a high-quality all-purpose blend that is certified gluten-free.
A few brands that work well are Bob’s Red Mill 1-to-1 Gluten Free Baking Flour, Cup4Cup All Purpose Flour, or King Arthur Measure for Measure.
Making the Flour
Once you have gathered your ingredients, it’s time to get started! To make one cup of gluten-free self-rising flour, start by combining 1 cup of all-purpose blend with 1 ½ teaspoons of fine sea salt in a large bowl.
Use a whisk or fork to mix the ingredients together until everything is evenly combined. That’s it—you now have one cup of homemade gluten-free self-rising flour!
You can store this in an airtight container for up to 6 months, so feel free to double or triple this recipe as needed depending on how much you need for your baking project.
Using Your Self-Rising Flour
Now that you have made your gluten-free self-rising flour, let’s talk about how best to use it in recipes! This type of flour works best when used in recipes where some sort of leavening agent (like baking soda or baking powder) is needed but not necessarily provided in the recipe itself.
The added sea salt provides flavor and acts as a preservative which helps keep baked goods fresh longer than if they were made with a regular all-purpose blend alone.
Just remember that when using this type of flour in recipes, omit any additional leavening agents like baking soda/powder since they are already included in the mix!
FAQs
Can you fry with self-rising flour?
Yes, you can fry with self-rising flour.
Self-rising flour is a combination of all-purpose flour, baking powder, and salt. It comes pre-mixed so that it’s ready for use in recipes that call for leavening—which includes fried foods like donuts or fritters.
The baking powder helps create a light and airy texture, while the salt helps bring out flavor. When using self-rising flour for frying, it’s important to temper the oil before adding food to ensure even cooking.
Additionally, be mindful of the moisture content in your fried foods as too much liquid can create a greasy result. With some practice and experimentation, you can create delicious fried treats with self-rising flour.
Can you make pie crust with self-rising flour?
Yes, it is possible to make a pie crust with self-rising flour.
Self-rising flour contains baking powder and salt, which provides leavening and flavor. However, you will need to adjust the amount of liquid in the recipe since self-rising flour has more moisture than all-purpose or pastry flour.
You may also want to decrease the salt in the recipe since self-rising flour contains some.
Additionally, you may want to cut back slightly on the fat used since self-rising flour has a higher fat content than all-purpose or pastry flours.
With these modifications in mind, it is possible to make a pie crust with self-rising flour that yields delicious results. For best results, use recipes specifically designed for self-rising flour.
Note: If you decide to use self-rising flour in place of all-purpose or pastry flour, be sure not to substitute 1:1 as the two types of flour are not interchangeable. Instead, make the necessary adjustments outlined above and follow a recipe designed for self-rising flour.
Read more: Is Kamut Flour Gluten Free?
How to make pastry dough with self-raising flour?
Making pastry dough with self-raising flour is a simple and straightforward process.
Firstly, measure the desired amount of self-raising flour into a large bowl and add any other dry ingredients required.
Then, either cut in or rub in the fat (typically butter or margarine) until it forms small crumbs.
Finally, add just enough liquid to form a firm dough, then knead lightly and roll out. Be sure to keep the pastry cool while you’re completing these steps. This will help it retain its shape during baking.
When finished, place your pastry in the fridge until ready to use. Remember that self-raising flour already contains leavening agents, so extra-raising agents are unnecessary.
With these simple steps, you’ll have delicious pastry dough in no time!
Once your pastry is ready, it can be used for various dishes such as pies, tarts, and quiches. For best results, make sure to pre-bake your pastry before adding any wet fillings. This will ensure that the pastry is cooked through and not soggy. Now you’re ready to enjoy a delicious homemade pastry dish!
Conclusion
In conclusion, making your own gluten-free self-rising flour is quick and easy with just two simple ingredients—gluten-free all-purpose blend and fine sea salt—and takes only minutes from start to finish! Not only does this give you complete control over what goes into your food, but it can also save you money compared to buying pre-made mixes from the store. So next time you find yourself needing some gluten-free self-rising flour for baking projects, why not give homemade a try? You won’t regret it!
References:
https://www.sciencedirect.com/science/article/pii/B978012816467900006X