If you’re in the process of renovating your bathroom or building a new one, understanding the basics of bathroom plumbing rough-in is essential. Thankfully, a bathroom plumbing rough-in diagram can provide you with the necessary guidance to ensure that your plumbing system is properly installed and meets all code requirements.
A bathroom plumbing rough-in diagram outlines the placement and connections of various fixtures and pipes in your bathroom. It serves as a blueprint for plumbers and contractors, helping them understand where to install supply lines, drains, vents, and other components. This diagram typically includes details such as the location of toilets, sinks, showers or bathtubs, and how they are connected to each other through pipes.
For more interesting content, check out our next post!
By following a bathroom plumbing rough-in diagram, you’ll have a clear visual representation of how everything fits together. This will help you make informed decisions about fixture placement during the planning stage and ensure that your plumber has a comprehensive understanding of what needs to be done.
Whether you’re tackling a DIY project or working with professionals, having access to a detailed bathroom plumbing rough-in diagram is crucial for ensuring that your plumbing system functions efficiently and effectively once it’s complete. Take the time to study these diagrams carefully so that you can confidently navigate through your bathroom renovation or construction process.
Bathroom Plumbing Rough In Diagram
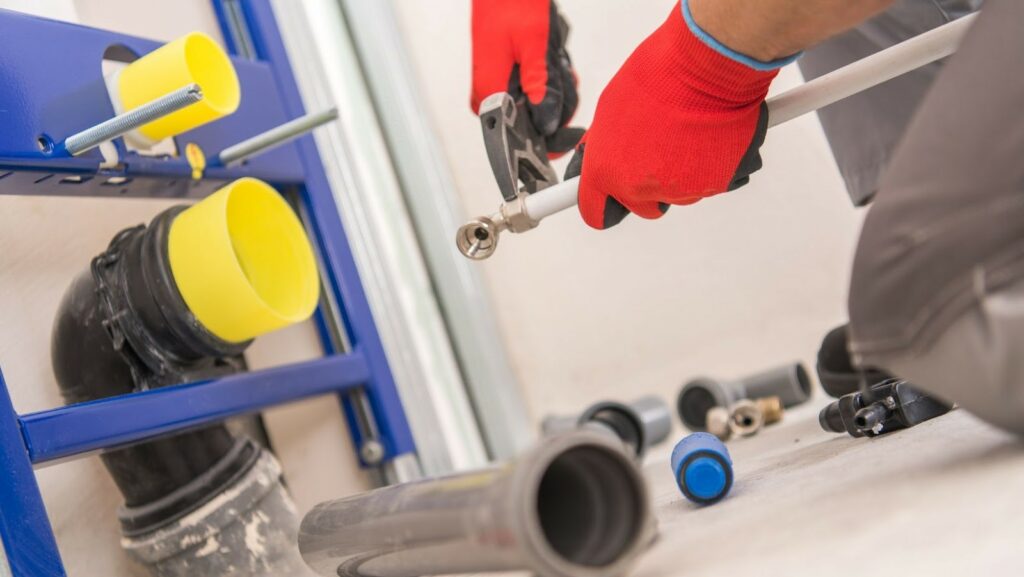
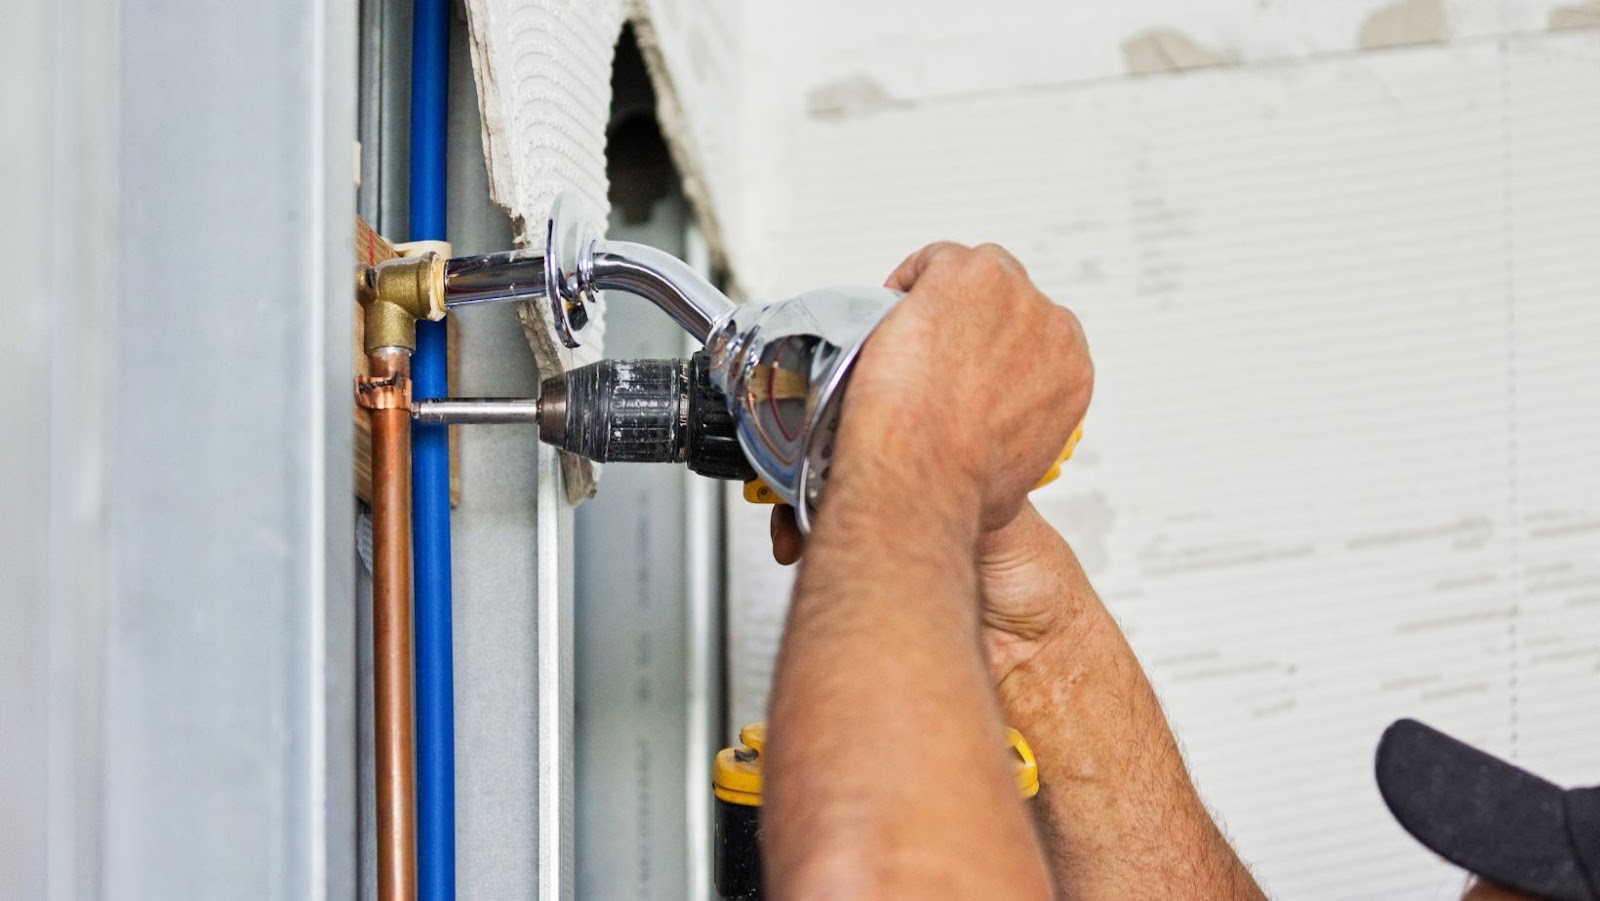
When it comes to bathroom renovations or new construction projects, understanding the concept of bathroom plumbing rough-in is essential. This preliminary phase sets the foundation for your plumbing system and ensures that everything is properly installed before adding fixtures and finishing touches. Let’s dive into the details of what bathroom plumbing rough-in entails.
- Layout and Design: Before any pipes are installed, a comprehensive plan is created based on the layout and design of your bathroom. This includes determining the location of fixtures such as toilets, sinks, showers, and bathtubs. By referring to a bathroom plumbing rough in diagram, you can visualize how these components will be connected.
- Supply Lines: The supply lines bring clean water into your bathroom fixtures from the main water supply. During rough-in, these lines are carefully positioned within walls or under floors to ensure proper functionality and aesthetic appeal.
- Drainage System: Equally important is the drainage system which removes wastewater from your fixtures using gravity or mechanical means. The rough-in stage involves installing drainpipes at appropriate angles to facilitate smooth flow without any blockages.
- Ventilation: Proper ventilation is crucial to prevent unpleasant odors and maintain optimal air quality in your bathroom space. Vent pipes are installed during rough-in to allow air circulation and release sewer gases safely outside the building.
- Code Compliance: Throughout the entire process, adherence to local building codes and regulations is paramount for safety and efficiency purposes. Hiring a licensed plumber experienced in bathroom plumbing rough-in ensures compliance with these standards.
By understanding how each component fits together during this initial phase, you’ll have a clear picture of how your finished bathroom will function once all fixtures are added.
In conclusion, bathroom plumbing rough-in lays the groundwork for an efficient and well-functioning plumbing system in your newly constructed or renovated space. With careful planning, precise installation techniques, and code compliance at every step, you can ensure a smooth and hassle-free process. So, before diving into the aesthetics of your bathroom, don’t forget the importance of a well-executed rough-in stage.
