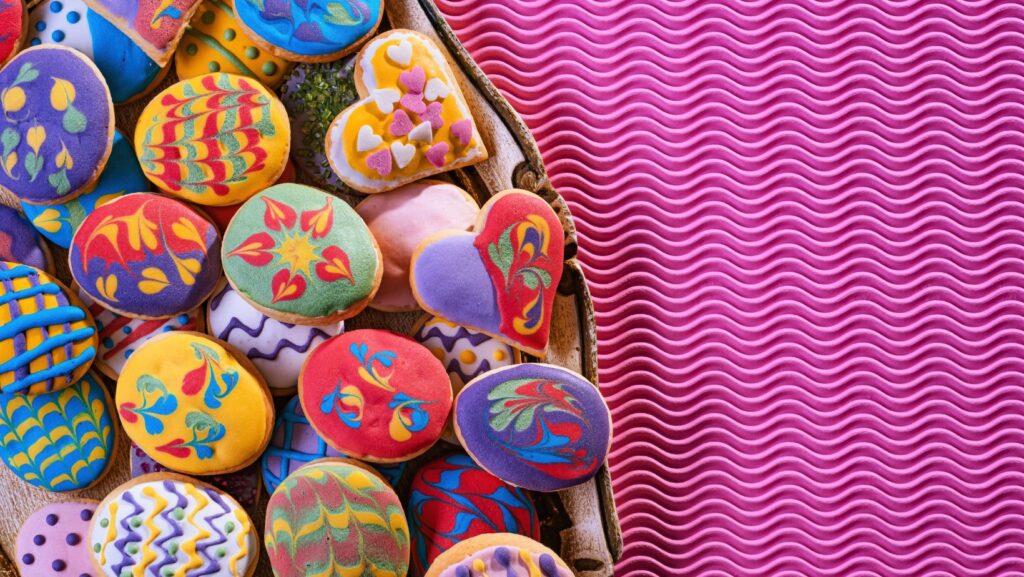
Cookies as Canvas: Creative Ideas for Cookie Painting
The art of cookie decoration has evolved over the centuries, blending culinary arts with visual aesthetics. Cookies, traditionally seen as a staple in the confectionery world, have transformed into canvases for creative expression, much like how TonyBet has revolutionized online gaming by integrating innovation and user-friendly interfaces. Cookie painting is an amalgamation of culinary skill and artistic flair, enabling bakers to create edible masterpieces that are as visually captivating as they are delectable. This article explores the boundless world of cookie painting, offering insight into techniques, edible paints, and creative ideas for embellishing your sweet treats.
Table of Contents
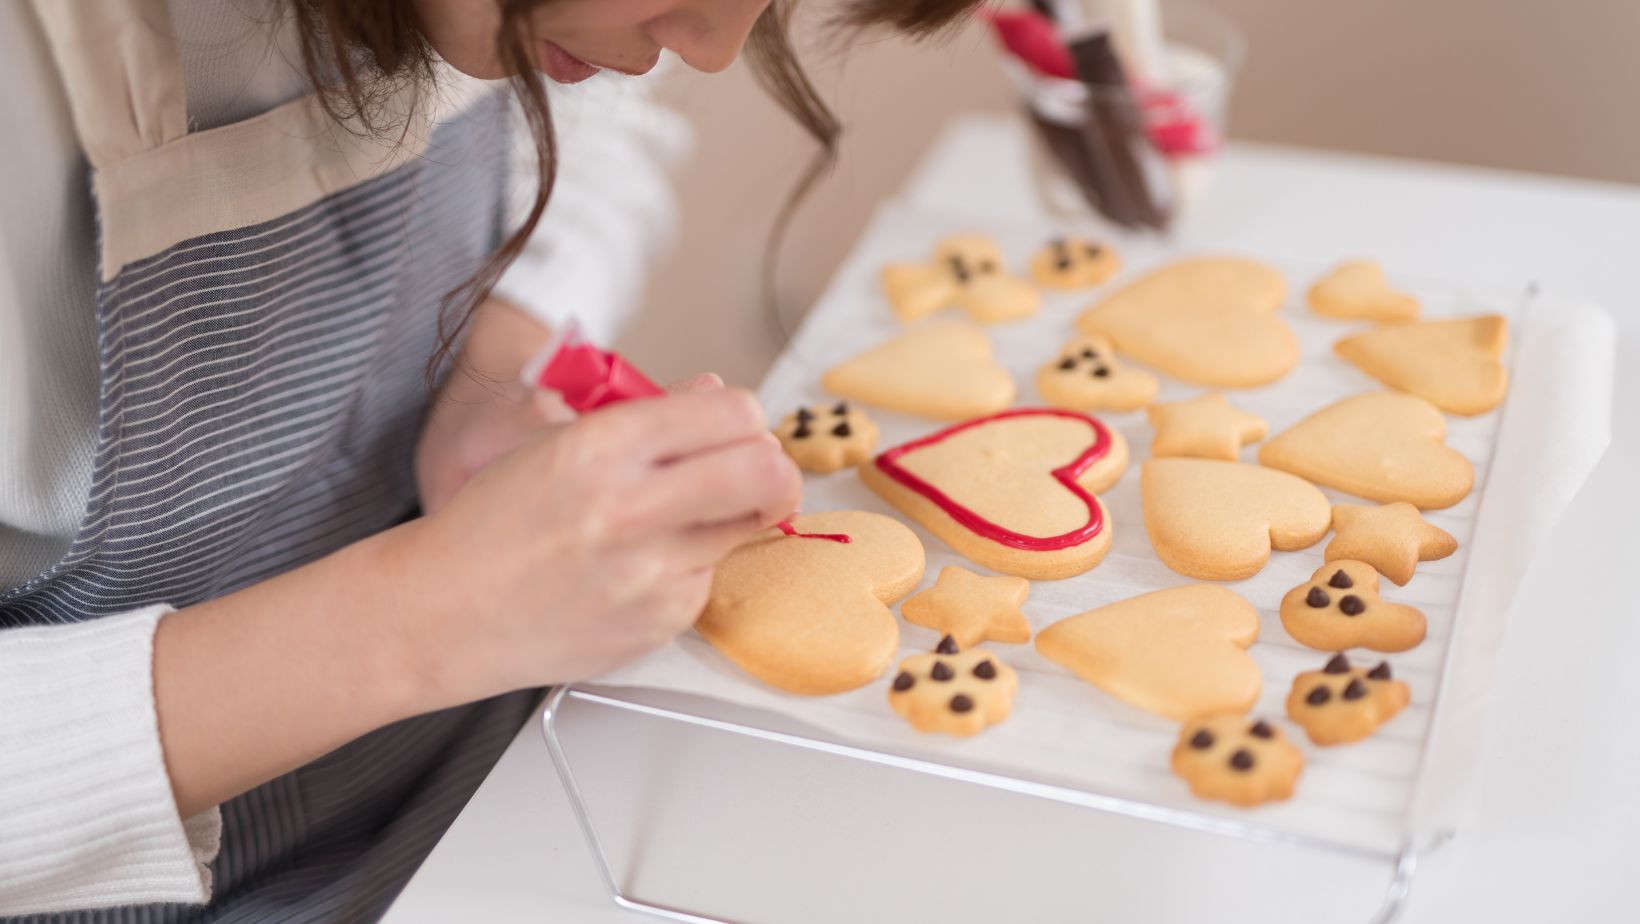
Preparing Your Canvas
Cookie Selection:
Shape and Size: Choose cookies with flat surfaces and opt for larger sizes to have more room for detailed painting.
Texture: Opt for smooth, firm textures, such as those found in sugar cookies or gingerbread cookies, to ensure a stable surface for painting.
Color: Lighter-colored cookies like sugar cookies are preferable, acting as a blank canvas, allowing the colors of your edible paint to shine.
Baking Considerations:
Uniform Thickness: Roll out your cookie dough to a uniform thickness to ensure even baking.
Chilling the Dough: Chill the dough before baking to maintain the shape and integrity of the cookies.
Slight Underbaking: Underbake slightly to maintain a softer texture, making the cookies less prone to breaking when painting.
Paint Preparation
Types of Edible Paints:
Food Coloring: Mix food coloring with a small amount of water or lemon extract to create a watercolor effect.
Gel Food Coloring: Thicker than liquid food coloring, allowing for more vivid and intense colors.
Edible Paint Powders: Mix with a liquid to achieve a paint-like consistency; available in metallic and matte finishes.
Colored Cocoa Butter: Provides a rich, opaque finish and works well for painting on chocolate.
Color Mixing:
Learn the basics of color theory to mix primary colors (red, blue, and yellow) and create a spectrum of hues.
Utilize a palette to mix your colors and test them before applying them to the cookies.
Brush Selection:
Use food-safe brushes that are kept exclusively for culinary purposes.
Have a range of brush sizes for different levels of detail and coverage.
Artistic Techniques
Layering:
Start with lighter colors and gradually build up to darker ones, allowing each layer to dry to avoid colors bleeding into each other.
Layering creates depth and dimension in your designs.
Detailing:
Use fine brushes and toothpicks for intricate details like facial features or fine lines.
Consider using edible markers for outlines and fine detailing.
Blending and Shading:
Blend colors while they are still wet to create gradients and smooth transitions.
Utilize shading to add realism and three-dimensionality to your designs.
Texturing:
Experiment with sponging, stippling, and other texturing techniques to add visual interest to your cookies.
Use unconventional tools like sponges and toothbrushes to create different textures.
Creative Ideas for Cookie Painting
Themed Cookies:
Create cookies based on specific themes such as holidays, seasons, or special occasions.
Consider popular characters, floral designs, animals, or abstract patterns.
Personalized Portraits:
Experiment with painting portraits on cookies capturing likenesses of friends, family, or pets for personalized gifts.
Cookie Storyboards:
Develop a series of cookies that, when placed together, narrate a story or depict a scene, making the dessert spread more engaging and conversation-provoking.
Landscape Cookies:
Paint serene landscapes, seascapes, or cityscapes on elongated cookies for a panoramic view.
Utilize various painting techniques to capture the essence of different landscapes.
Protective Measures and Presentation
Sealing Your Artwork:
Once your masterpiece is complete, use an edible clear sealant or glaze to protect your painting from damage and prolong its life.
Allow the sealant to dry thoroughly before packaging or serving.
Packaging and Display:
Present your cookies in a way that showcases your artwork, using clear bags or boxes.
Arrange your cookies in aesthetically pleasing ways on trays or stands for events, allowing guests to appreciate the art before indulging.
In conclusion, cookies as canvas extend the realm of culinary arts into new, imaginative territories where flavor meets visual enchantment. By considering the cookie as more than a sweet treat and recognizing it as a medium for artistic expression, bakers and artists alike can explore creative avenues and push the boundaries of edible art. Whether you’re painting detailed portraits, whimsical landscapes, or festive holiday designs, cookie painting allows you to infuse your culinary creations with a personal touch, making each bite a celebration of craftsmanship and flavor. So, grab your brushes, mix your edible paints, and let the cookie be your canvas to the world of delicious artistry.