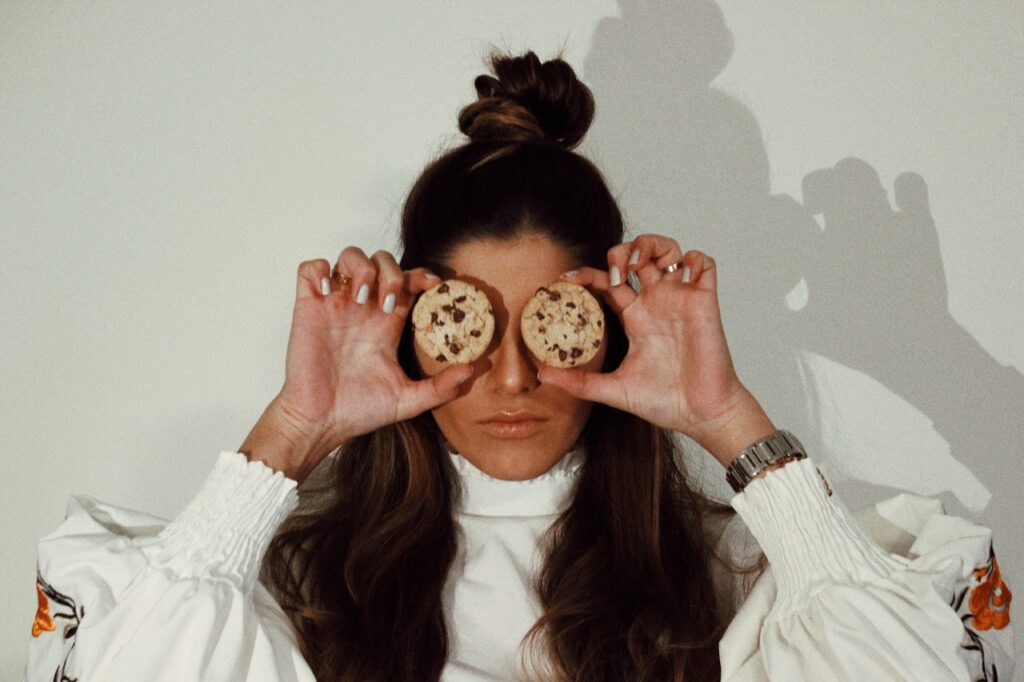
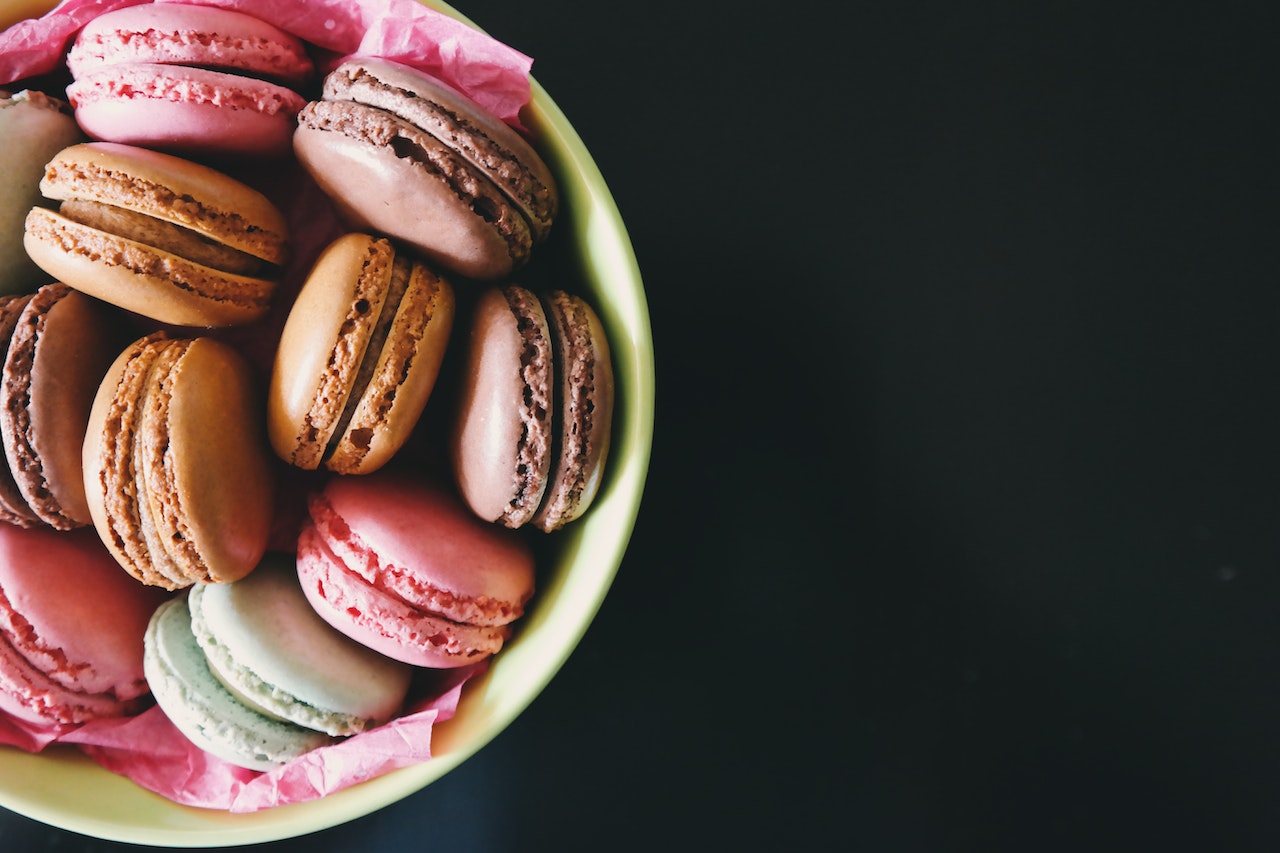
Cookies Images
When it comes to cookies, we often think about their delicious taste and mouth-watering aroma. However, there’s more to cookies than just their delectable flavors. In today’s digital age, cookies images have become an integral part of our online experience.
Whether you’re searching for a new recipe or browsing through your favorite bakery’s website, having enticing images of cookies can make all the difference. These visual representations not only showcase the variety and creativity in cookie designs but also serve as a source of inspiration for both bakers and cookie enthusiasts alike.
Baking Delicious Cookies: A Visual Guide
When it comes to baking delicious cookies, sometimes a visual guide can be incredibly helpful. Seeing step-by-step images of the process can provide clarity and inspiration, ensuring that your cookies turn out just right. In this section, we’ll explore the art of cookie baking through a series of captivating images that will have your mouth watering in no time.
- The Ingredients:
A key part of any cookie recipe is gathering all the necessary ingredients. From flour and sugar to butter and eggs, each component plays a vital role in creating the perfect texture and flavor. Our visual guide showcases each ingredient in its raw form, giving you an up-close look at what goes into making those delectable treats.
- Mixing the Dough:
Next, we dive into the process of mixing the dough. Whether it’s using an electric mixer or good old-fashioned hand stirring, our images capture every stage of this crucial step. You’ll see how the ingredients gradually come together to form a smooth and cohesive dough ready for shaping.
- Shaping Techniques:
With the dough mixed to perfection, it’s time to get creative with shaping techniques! Our visual guide offers various examples of how you can shape your cookies – from simple round scoops to intricate patterns created with cookie cutters or piping bags. You’ll discover new ideas for presentation that will elevate your cookies from ordinary to extraordinary.
- Baking Time:
Once shaped, it’s time to pop those delightful morsels into the oven! Our images showcase different stages of baking – from dough spreading and edges browning to that golden-brown finish we all crave. This visual journey allows you to understand how temperature and timing impact the final result.
5.Cooling and Decorating:
Finally, our visual guide takes you through the last steps – cooling and decorating your freshly baked cookies! Witness their transformation as they cool on wire racks before indulging in the fun part: adding decorative touches such as drizzles of chocolate, colorful sprinkles, or a dusting of powdered sugar. The images provide inspiration for different decorating styles and techniques.
Mastering Food Photography Techniques
When it comes to capturing the perfect shot of cookies images or any food for that matter, mastering food photography techniques is essential. As an expert in the field, I’ll share some valuable tips and tricks that will help you take your food photography skills to the next level.
- Lighting: The key to stunning food photography is good lighting. Natural light works wonders for showcasing the vibrant colors and textures of cookies. Position your subject near a well-lit window or shoot outdoors during the golden hour for soft, flattering light. Avoid harsh overhead lighting as it can create unflattering shadows.
- Composition: A well-composed photograph can make all the difference in creating visually appealing cookies images. Use the rule of thirds by placing your subject off-center to create balance and interest. Experiment with different angles and perspectives, such as shooting from above or at eye level, to add depth and dimension to your photos.
- Styling: Presentation plays a crucial role in food photography. Pay attention to details like arranging cookies in an aesthetically pleasing way, using props that complement the theme (such as a rustic wooden cutting board or a vintage plate), and adding garnishes or crumbs strategically for added texture.
- Focus and Depth of Field: Achieving sharp focus on your subject is vital in food photography, especially when capturing intricate details like cookie textures or chocolate chips melting gently. Experiment with different aperture settings (lower f-numbers) to create a shallow depth of field, blurring the background while keeping your subjects crisp and enticing.
- Editing: Post-processing can enhance your cookies images further by adjusting exposure, color balance, and sharpness levels. Utilize photo editing software like Lightroom or Photoshop to fine-tune your photographs while maintaining their natural appeal.
Remember, practice makes perfect! Don’t be afraid to experiment with different techniques until you find what works best for you and your style. With time and dedication, you’ll be capturing mouthwatering cookies images that will leave your audience craving for more.
