Moon Cookies
Dive into the world of moon cookies and you’ll quickly discover what sets them apart. These are no ordinary treats, but a blend of tradition, culture, and culinary craftsmanship that makes them truly unique.
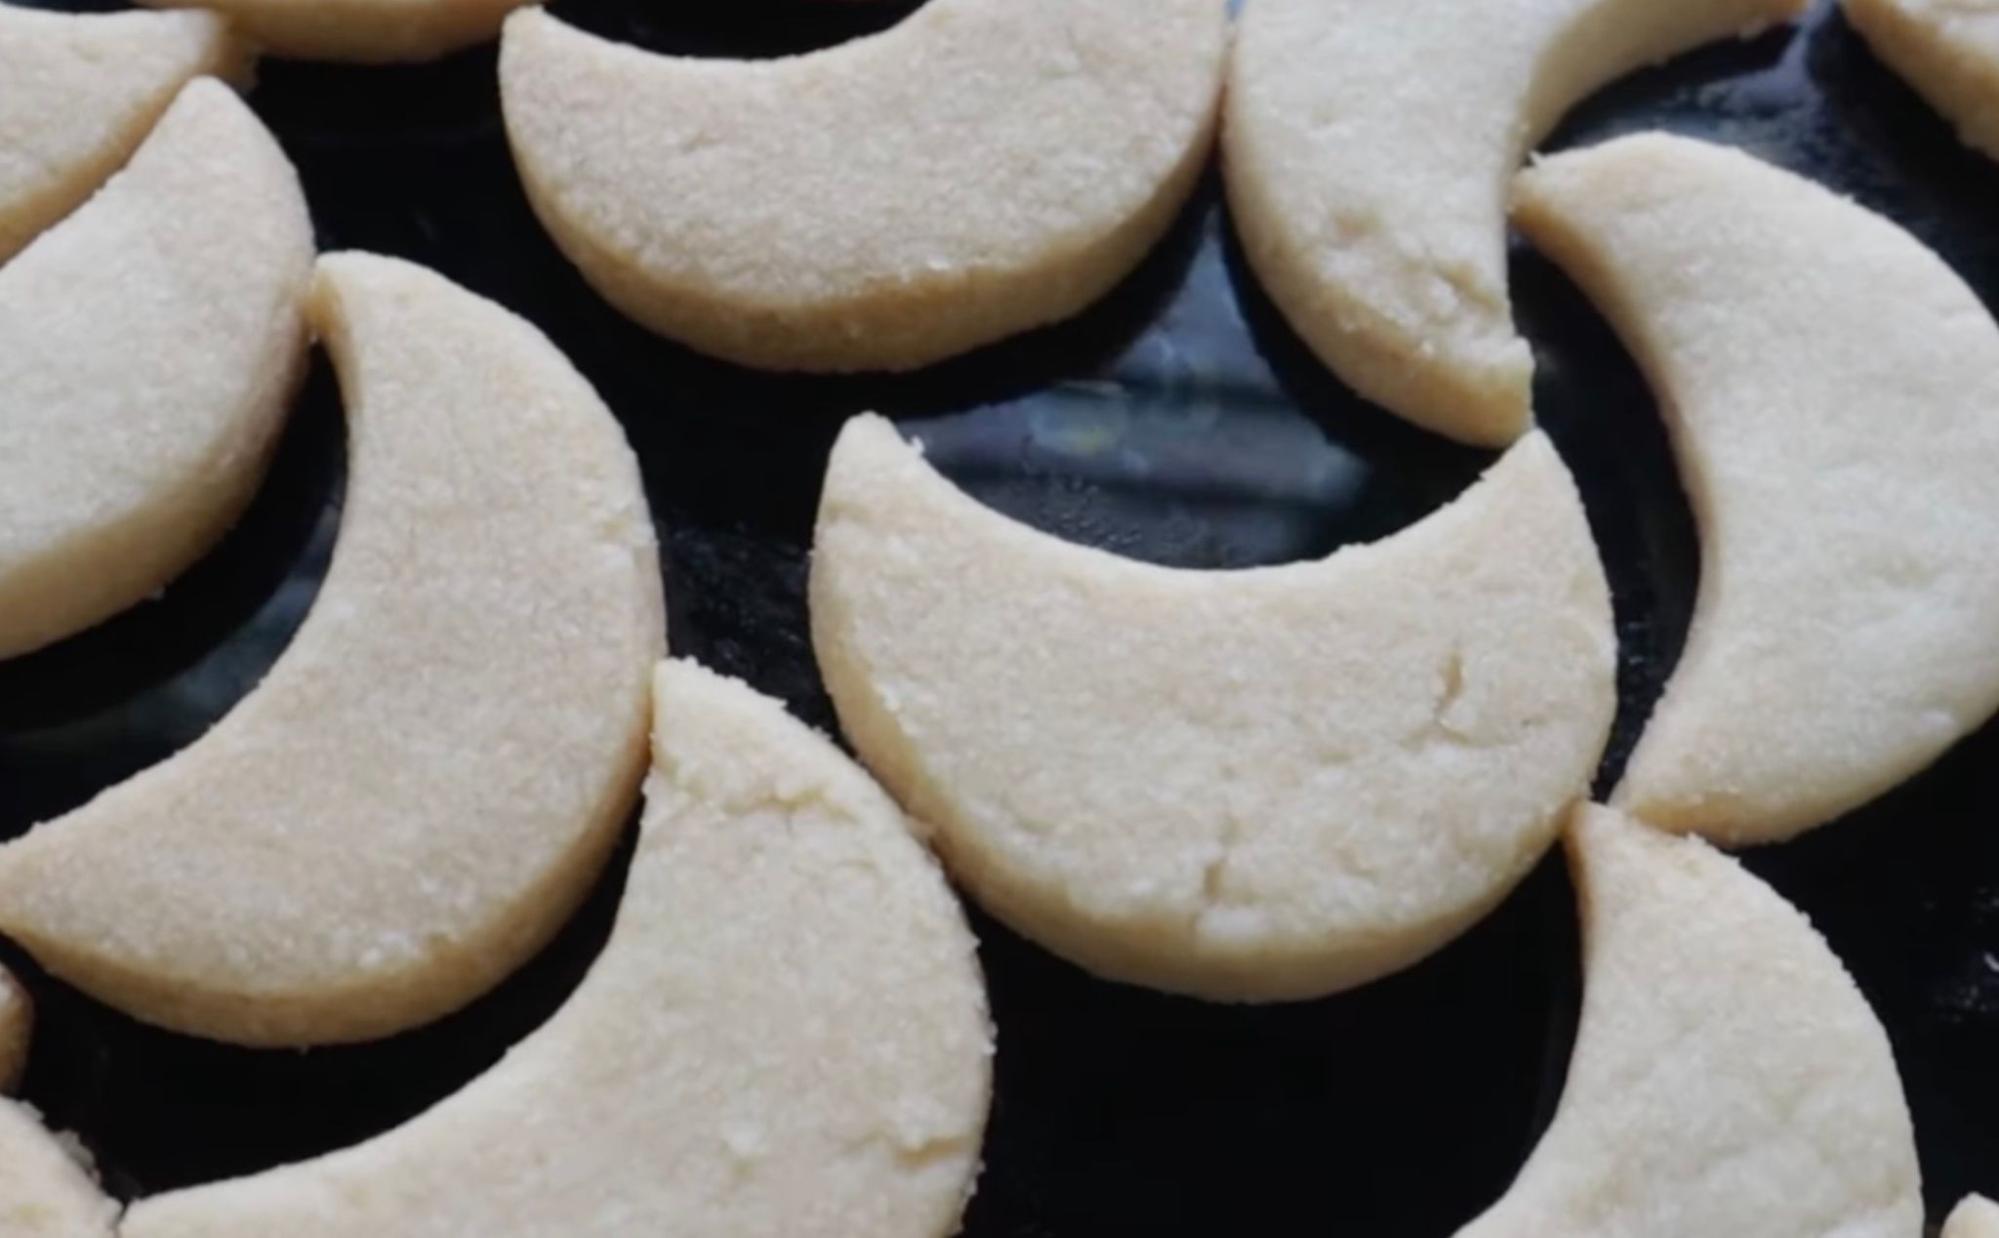
What’s so special about moon cookies? Well, we’re glad you asked! For starters, they’re not your everyday cookie. Handcrafted with precision and care, each cookie boasts a different design that tells its own story. And it’s not just about looks – these sweet delights pack a flavor punch too!
Here’s the thing: Moon cookies are traditionally made during the Mid-Autumn Festival in several Asian countries. This cultural significance adds an extra layer of depth to their charm. They aren’t simply baked goods; they’re part of a rich historical tapestry that many hold dear.
Now let’s talk about ingredients. We all know taste is king when it comes to any edible treat. The fillings inside these lunar delights range from red bean paste to lotus seed paste and even salty egg yolk! Their texture is unlike anything else – simultaneously flaky, soft, yet firm enough to hold their intricate shapes.
In short, moon cookies aren’t just another item on your grocery list; they’re an experience waiting to unfold with every bite! So next time you spot these uniquely patterned delicacies at your local bakery or supermarket – don’t hesitate. Give them a try and immerse yourself in the fascinating world of moon cookies.
Ingredients for Making Moon Cookies
Gather ’round, folks! We’re about to embark on a culinary journey that’s out of this world. Today, we’ll be whipping up our very own batch of moon cookies. Here’s the lowdown on what you’ll need:
- 1 cup of unsalted butter
- 2 cups of white granulated sugar
- 3 large eggs
- Half a teaspoon of pure vanilla extract
- 4 cups all-purpose flour
- Half a teaspoon baking powder
- One-fourth teaspoon salt
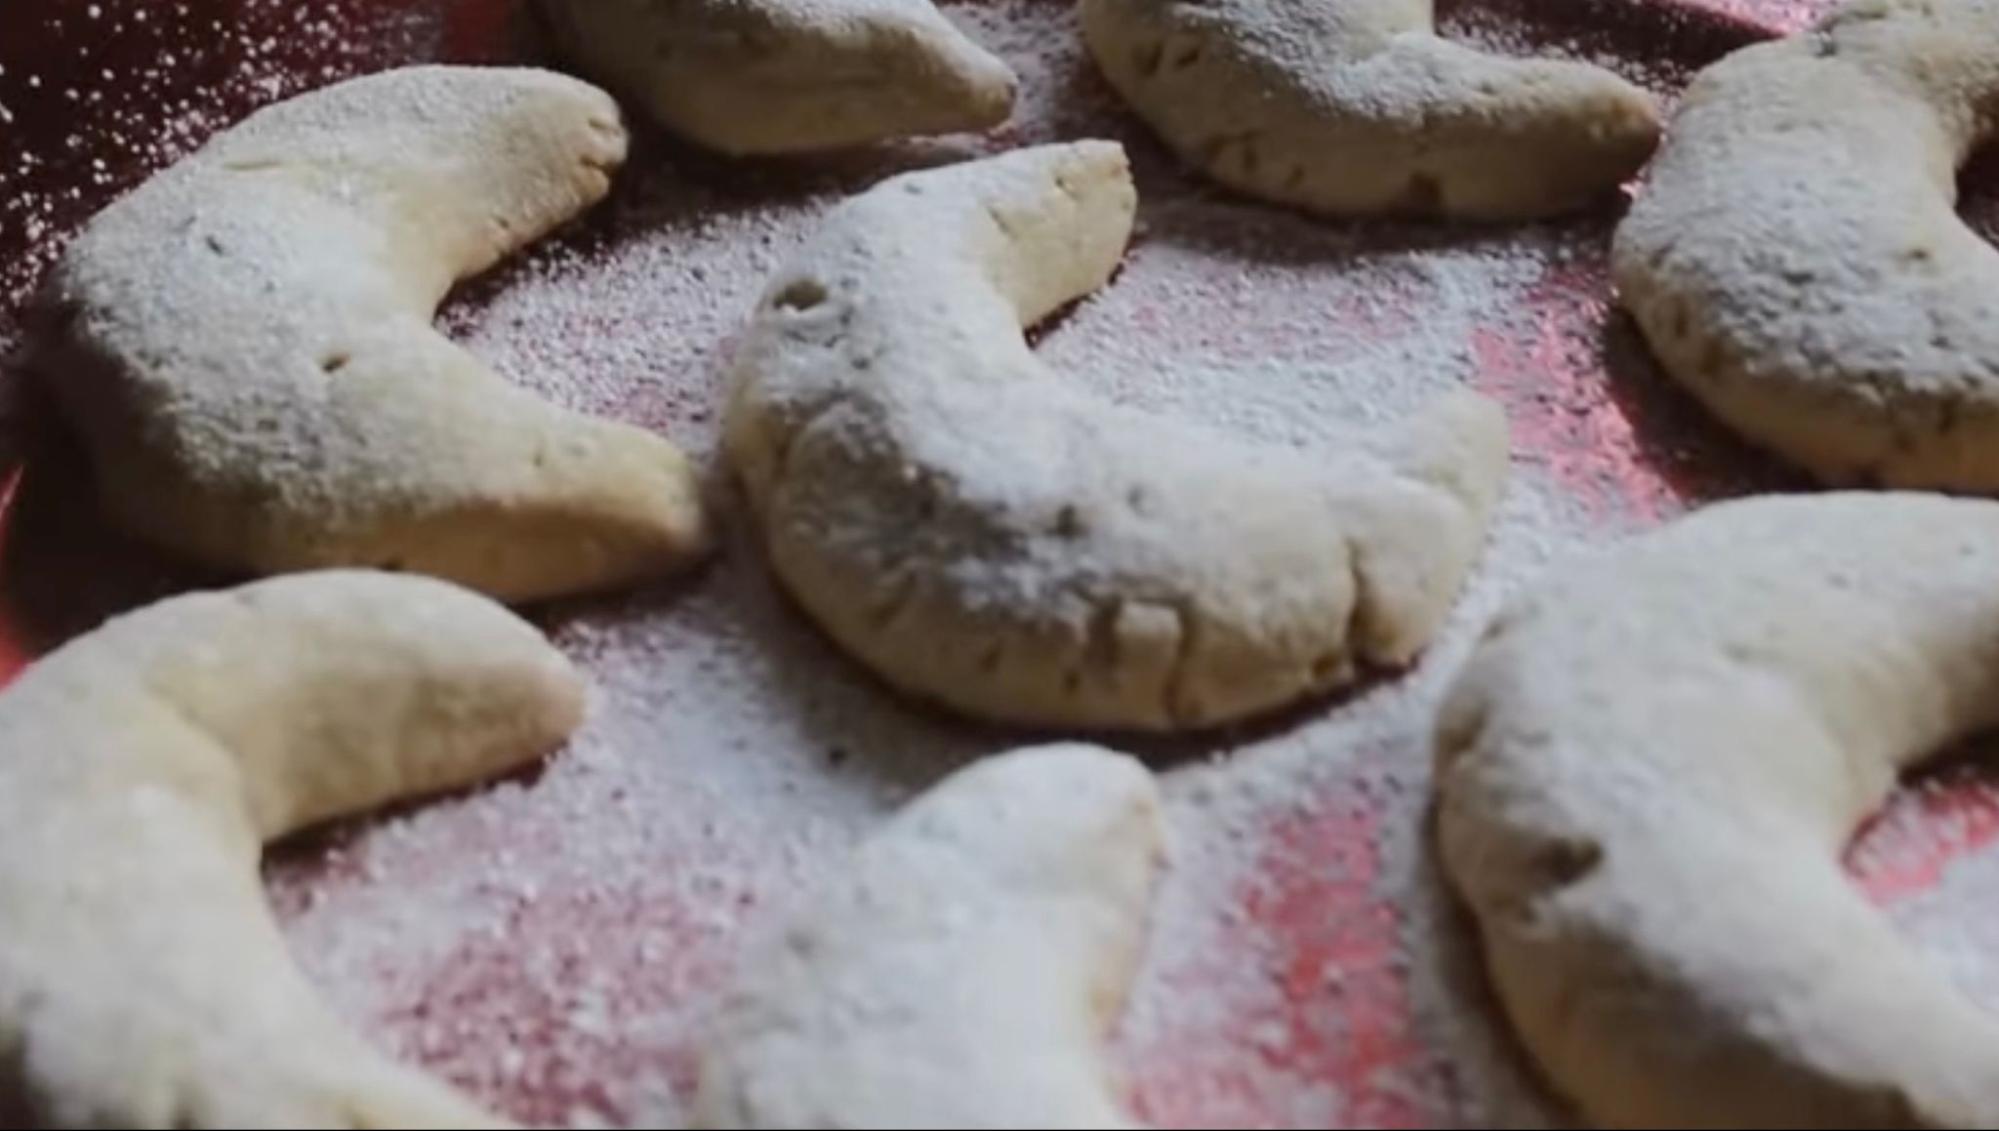
- Powdered sugar for dusting
Step-By-Step Instructions to Bake Your Own Moon Cookies
Dreaming of baking your own moon cookies? We’re here to guide you through the process! Let’s get started. Our first step is gathering all necessary ingredients. You’ll need:
- 2 cups of all-purpose flour
- 1 cup of granulated sugar
- 1/2 teaspoon of salt
- 1 cup of butter, softened
- And, for that lunar touch – silver edible glitter!
Once we’ve got everything ready, it’s time to preheat our oven to 350 degrees Fahrenheit. While waiting for the oven to reach this temperature, we’ll mix together our dry ingredients: flour and salt in one bowl. In another larger bowl, beat the softened butter until it’s creamy then gradually add sugar while continuing to beat until it becomes fluffy.
Next up is combining these two mixes. Gradually add your dry mixture into the creamy butter and sugar blend. Stir them well until a dough forms. It’s essential not to overwork our dough so we don’t end up with tough cookies instead of tender ones!
With our dough prepared, it’s time for the fun part – shaping our moon cookies! Roll out small pieces of dough into balls then flatten them slightly on a lined baking sheet leaving enough space between each cookie because they will expand as they bake.
Now comes the star moment – creating those distinctive crater-like impressions that make these treats ‘moon’ cookies! Press your thumb into each flattened piece gently but deeply enough to leave an indentation. Once all cookies have been shaped and imprinted, pop them inside your preheated oven and let them bake for about 12-15 minutes or until edges turn golden brown.
After taking them out from the oven and while they’re still hot sprinkle on some silver edible glitter on top – voila! You’ve got yourself homemade moon cookies! Remember though; always allow your baked goods to cool down before digging in.
