How to Tell If Bread Is Done
How can I tell if the bread is done? As a seasoned baker, I’m here to share some foolproof methods that will help you determine the perfect doneness of your bread.
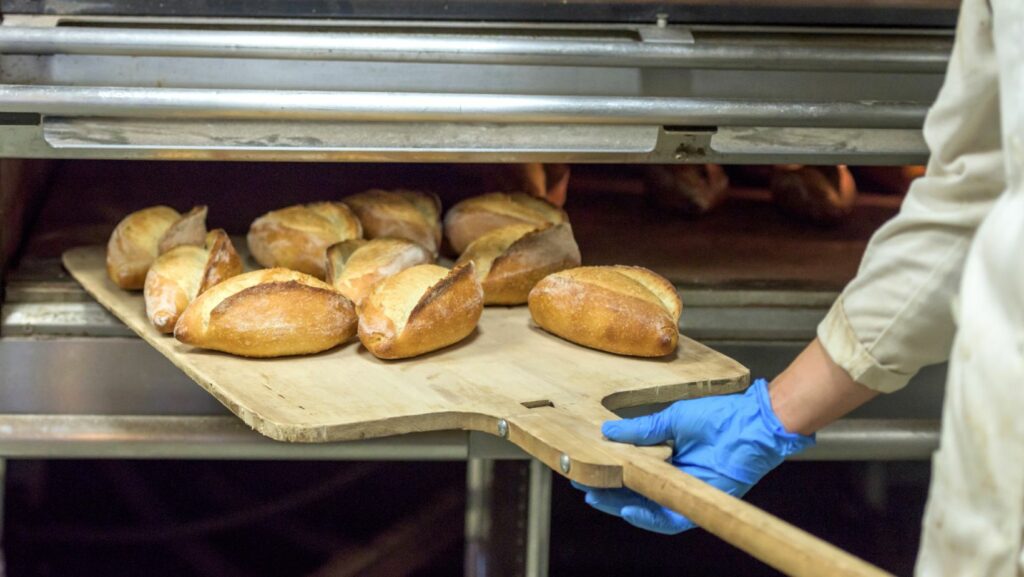
Firstly, rely on your senses. Look for a golden-brown crust with an irresistible aroma wafting from the oven. The visual and olfactory cues are often reliable indicators of a fully baked loaf. However, it’s important not to rely solely on appearance since the crust color can vary depending on the type of bread.
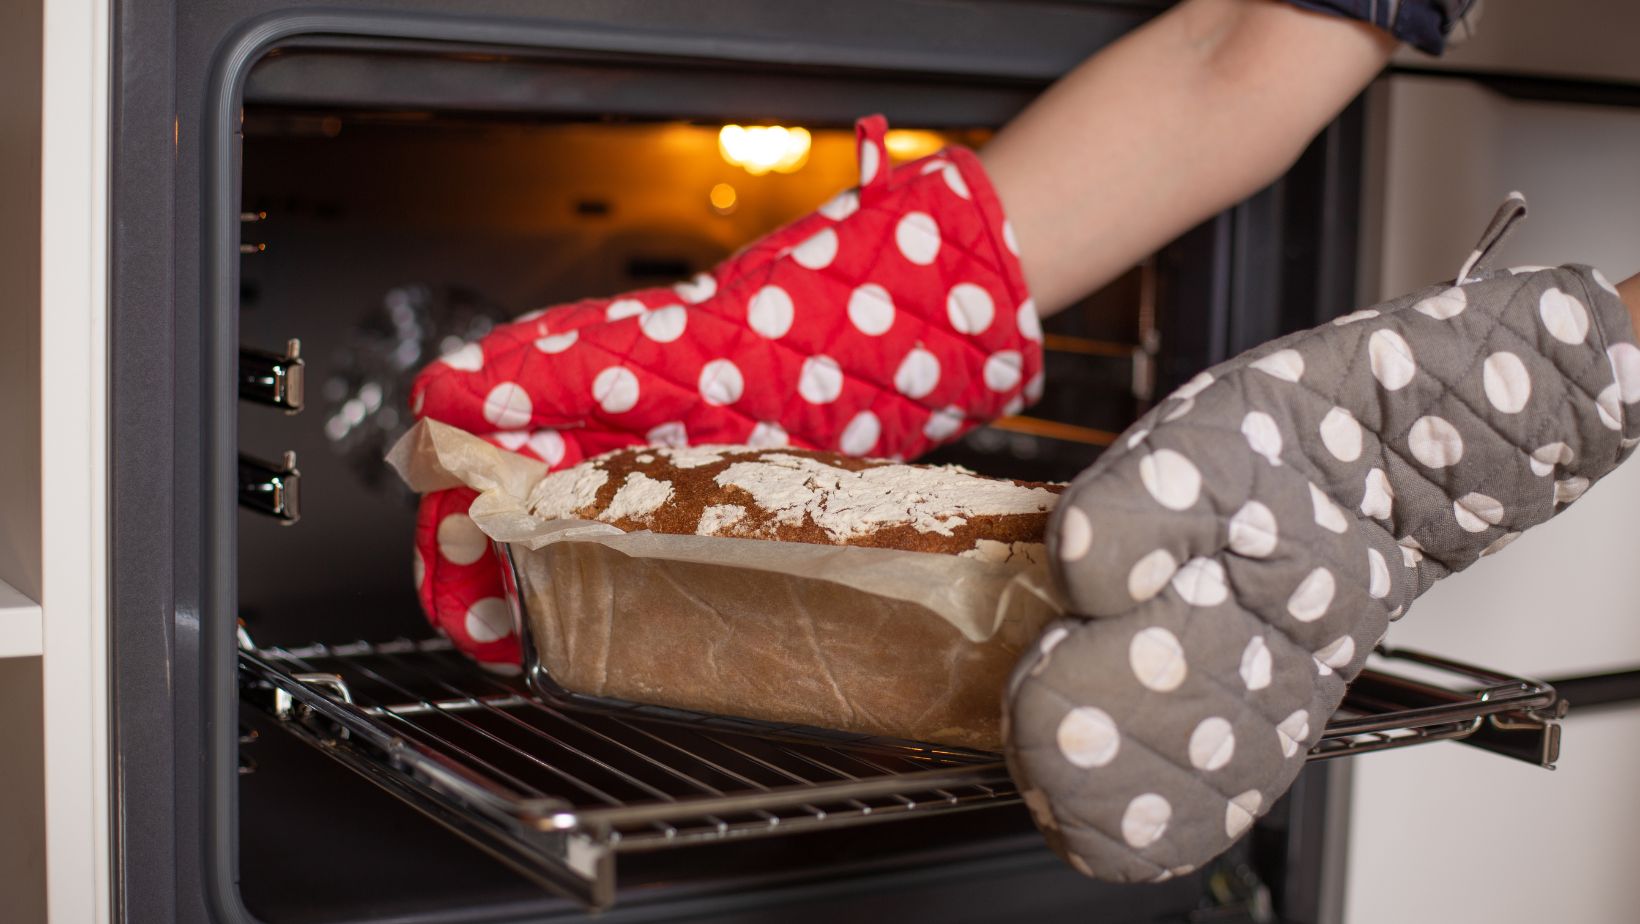
Next, give your loaf a gentle tap on its bottom. If it sounds hollow, congratulations! Your bread is likely done baking. The open sound indicates that the interior is cooked through, and no doughy or undercooked portion is left inside.
Lastly, take into account the power of a trusty kitchen thermometer. Please insert it into the thickest part of your bread (without touching the pan) and check for an internal temperature between 190°F (88°C) and 205°F (96°C). This temperature range ensures that all loaf parts are properly baked without being overdone.
By using these techniques – relying on your senses, tapping for hollowness, and checking with a thermometer -, you can confidently determine if your bread is truly done baking. So enjoy the satisfaction of pulling out perfectly baked loaves from your oven time after time!
How to Check for Doneness Using the Tap Test
One of the most crucial steps when baking bread is determining if it’s done. While there are various methods to check for doneness, the tap test is an effective and reliable technique to help you achieve perfectly baked bread. Let me guide you through how to perform this simple yet informative test.
Please wait for the right time: Before the tap test, ensure your bread has completed its recommended baking time according to the recipe. This will give it ample time to develop a golden crust and cook thoroughly.
- Gently tap the surface: Once your bread has reached its suggested baking time, carefully remove it from the oven using oven mitts or a kitchen towel. Place it on a cooling rack or a clean, dry surface.
- Listen closely: Now comes the exciting part! With your fingertips slightly cupped together, gently tap on different areas of the loaf’s surface. Could you pay attention to the sound it produces?
- The hollow thump: A well-baked loaf will emit an open thumping sound when tapped lightly with your fingers. This indicates that the bread’s interior is fully cooked and ready to be enjoyed.
- Non-hollow sounds: If you notice more of a dull thud or dense sound rather than a hollow thump, it may indicate that your bread needs more time in the oven. Return it to the preheated oven for another 5-10 minutes before retesting.
- Repeat if necessary: Every oven varies in temperature, and every recipe has specific requirements; therefore, additional testing may be needed until you become familiar with your unique baking conditions.
Final Thoughts
Remember, while mastering this technique takes practice and experience, once you’ve honed your skills in performing the tap test, you’ll have greater confidence in determining when your bread is perfectly baked. So try it, and enjoy the satisfaction of baking bread that’s done to perfection!
Now that you know how to check for doneness using the tap test, let’s explore other methods in our quest for perfectly baked bread. Stay tuned for more useful tips and tricks in our upcoming sections!
