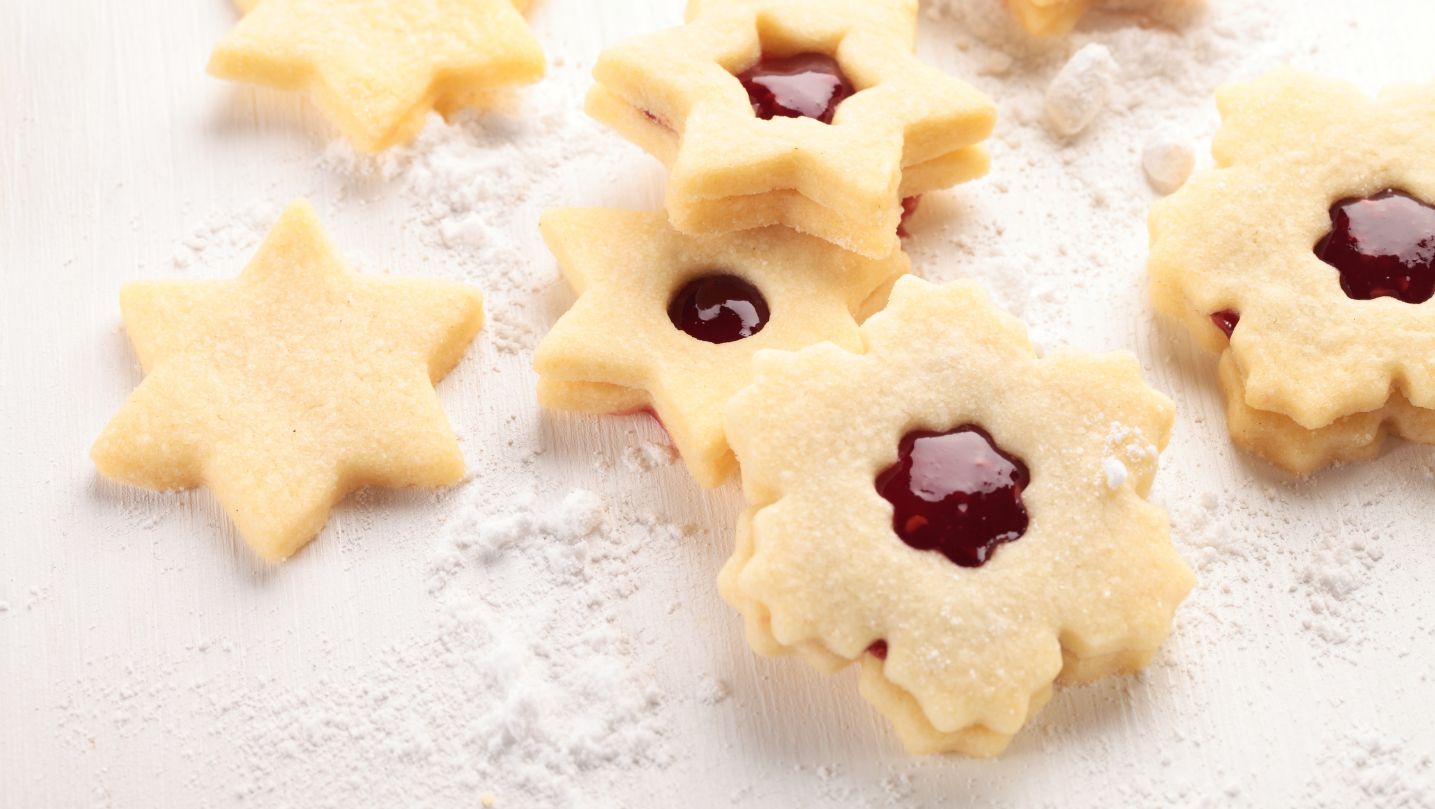
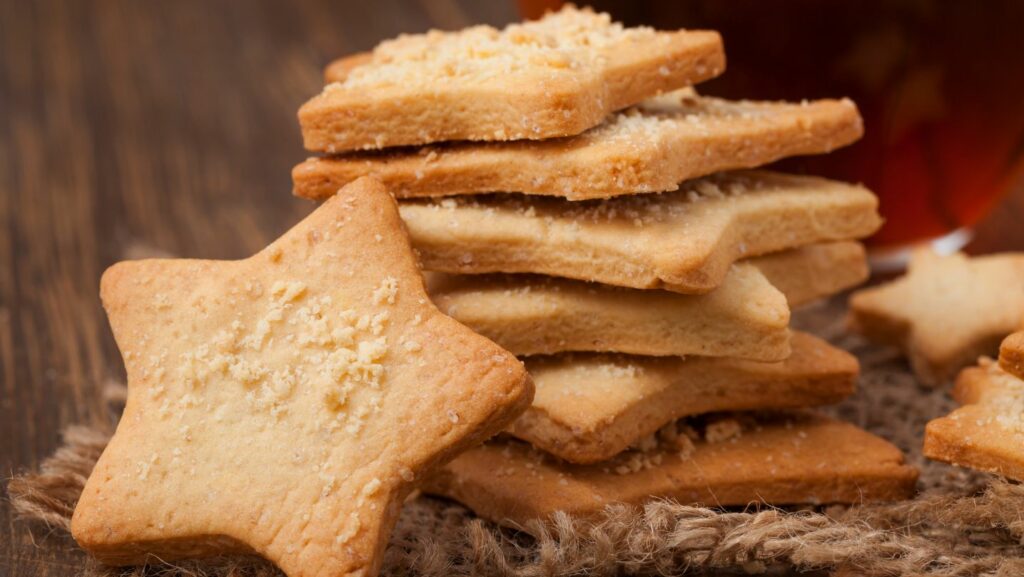
Looking for the perfect treat that can be enjoyed on any occasion? Look no further than these delectable star cookies! Whether you’re planning a birthday party, hosting a baby shower, or simply craving something sweet, these cookies are sure to delight both young and old.
What sets these star cookies apart is their versatility. The buttery, melt-in-your-mouth texture combined with a hint of vanilla creates a flavor profile that appeals to everyone’s taste buds. Plus, with their eye-catching shape and vibrant colors, they make for an impressive presentation that will wow your guests.
Not only do these star cookies taste amazing, but they are also incredibly easy to make. With just a few simple ingredients and some basic baking skills, you’ll have a batch of these delightful treats in no time. So whether you’re an experienced baker or just starting out in the kitchen, you can confidently whip up these star cookies without breaking a sweat.
Table of Contents
Star Cookies
How to Bake Star Cookies
When it comes to baking star cookies, there’s more than meets the eye. These delightful treats are not only visually appealing but also incredibly versatile in terms of flavors and decorations. Whether you’re a seasoned baker or just starting out, here are some tips on how to create the perfect batch of star cookies:
- Gather your ingredients: Start by gathering all the necessary ingredients for your cookie dough, such as flour, sugar, butter, eggs, and vanilla extract. You can also experiment with different flavor variations, like chocolate or citrus zest, for an extra kick.
- Mixing and chilling: Cream together the butter and sugar until light and fluffy. Then, add in the eggs one at a time, followed by the dry ingredients. Once the dough is mixed thoroughly, wrap it in plastic wrap and chill in the refrigerator for at least an hour to allow it to firm up.
- Rolling and cutting: After chilling, roll out the dough on a lightly floured surface to your desired thickness. Use star-shaped cookie cutters to cut out perfectly shaped stars from the dough. Don’t forget to re-chill any leftover scraps before re-rolling them for additional cookies.
- Baking time: Place your beautifully shaped star cookies onto a lined baking sheet and bake them in a preheated oven according to your recipe’s instructions. Keep a close eye on them as they bake because they tend to brown quickly due to their delicate shape.
- Cooling and decorating: Once baked, transfer the cookies onto wire racks to cool completely before decorating them with icing or sprinkles. Get creative with colors, patterns, or even edible glitter! Let your imagination run wild.

Easy and Quick Star Cookie Recipe
Tips for Perfectly Shaped Star Cookies
When it comes to baking star-shaped cookies, getting that perfect shape can be a bit tricky. Here are some tips to help you achieve beautifully shaped star cookies every time:
- Chilled Dough: Before rolling out the cookie dough, make sure it’s properly chilled. This will prevent the dough from spreading too much during baking and help maintain the distinct star shape.
- Flouring Surfaces: Dust your work surface, rolling pin, and cookie cutters with flour to prevent sticking. This will allow you to easily transfer the cut-out shapes onto the baking sheet without any mishaps.
- Even Thickness: Roll out the dough evenly so that all your cookies bake uniformly. Uneven thickness may result in some cookies being over or undercooked.
- Sharp Edges: Ensure that your star-shaped cookie cutter has sharp edges for clean cuts. Dull edges can lead to messy shapes and less defined stars.
In conclusion, when it comes to finding the perfect treat for any occasion, star cookies are hard to beat. With their versatility, eye-catching aesthetics, a burst of flavors, portability, and universal appeal, they truly stand out as the ultimate choice.

